

Set up two-step verification
Two-step verification adds an extra layer of security to your student account. It also makes it easier to reset your password if you forget it or if it has expired.
Before you start, you need:
• A computer with internet access
• A mobile phone on which you can install apps
Step 1:
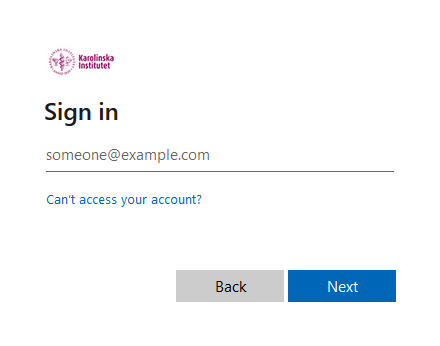
On your computer, sign in to Microsoft 365.
Enter your student email address and click "Next".
Step 2:
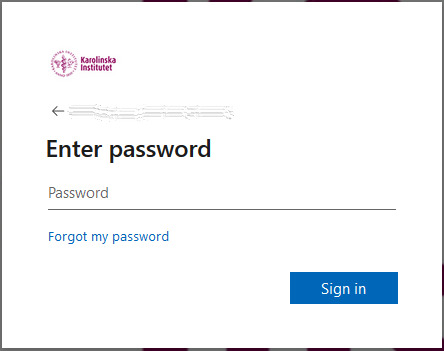
Enter your password and click "Sign in".
Step 3:
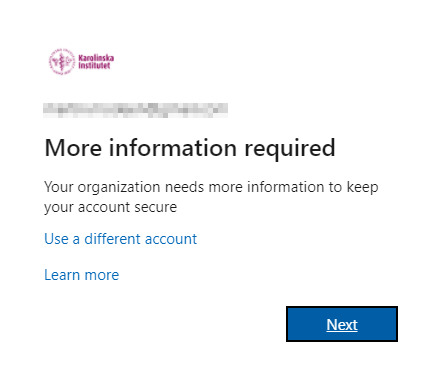
You should see an information box saying More information required.
This means that you need to set up the two-step verification on your account.
Confirm that you are signed in with the correct account, then click "Next".
Step 4:
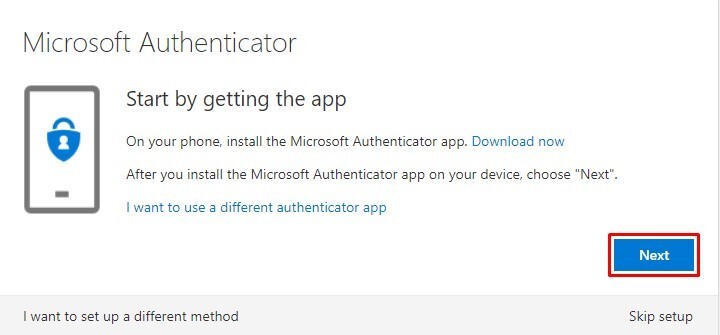
On your phone, open the Microsoft Authenticator app.
You can download the app for free from Google Play (Android) or the App Store (iPhone).
After opening the app on your phone, click "Next" on the computer.
Step 5:
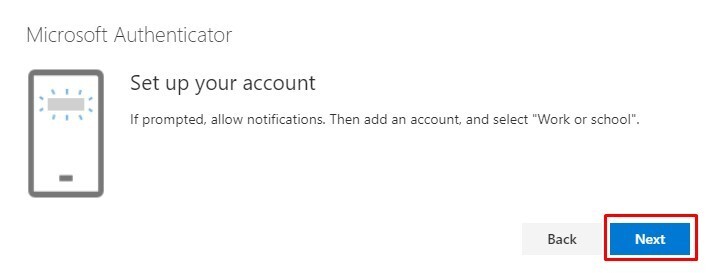
Add your account to the app.
If this is the first time you open the app, you will have the option to add an account immediately.
Otherwise, press the plus (+) at the top right to add a new account (iPhone), or the three dots at the top right, then "Add account" (Android).
Choose to add a "Work or school account" to your phone, then press "Next" on your computer.
Step 6:
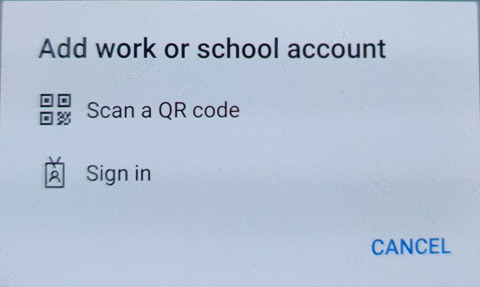
On the phone, select "Scan a QR code" after selecting the account type.
If the app requests access to the camera, this needs to be approved to proceed.
Step 7:
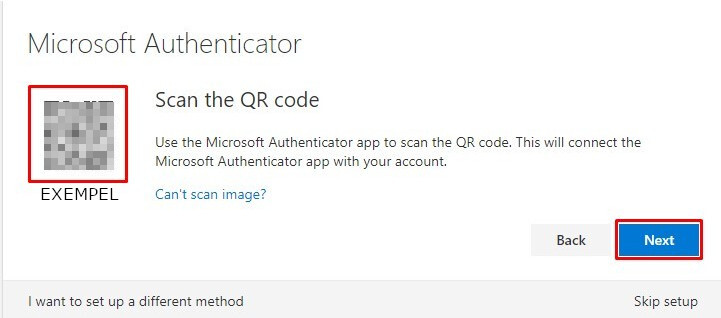
Scan the QR code that you see on your computer with your phone.
The camera on the phone should also have started.
After scanning the QR code with your phone, click "Next" on the computer.
Step 8:
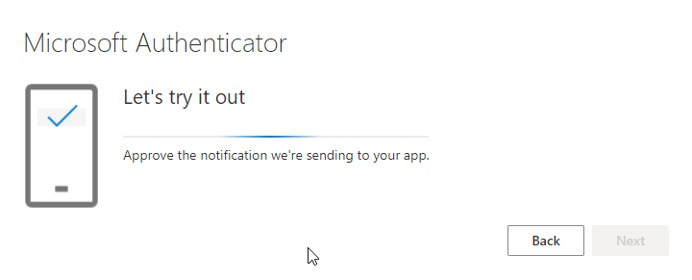
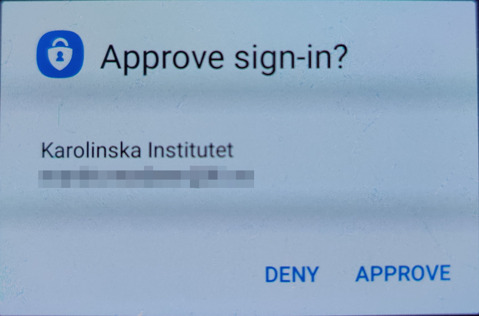
You will receive a message on your phone asking you to approve the login for your account.
Step 9:
Once you have approved, the message "Notification approved" will appear on your computer.

Click "Next" on the computer.
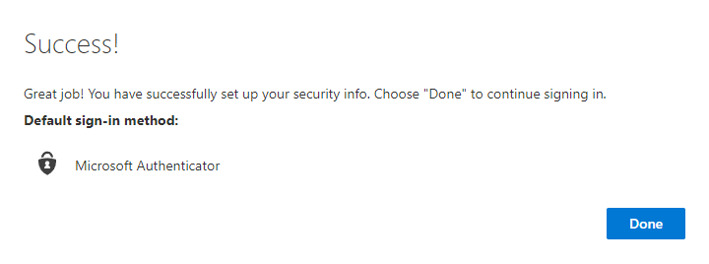
If everything went well, you will see a message on the computer saying that the setup is complete.
When logging in, you may be asked to approve the login with your phone.
NOTE! Please do not delete the app on your phone when the authentication is complete!
Contact
If you need assistance with the two-step verification, please contact Student IT.